By Katie Edwards, Jr. Art Director
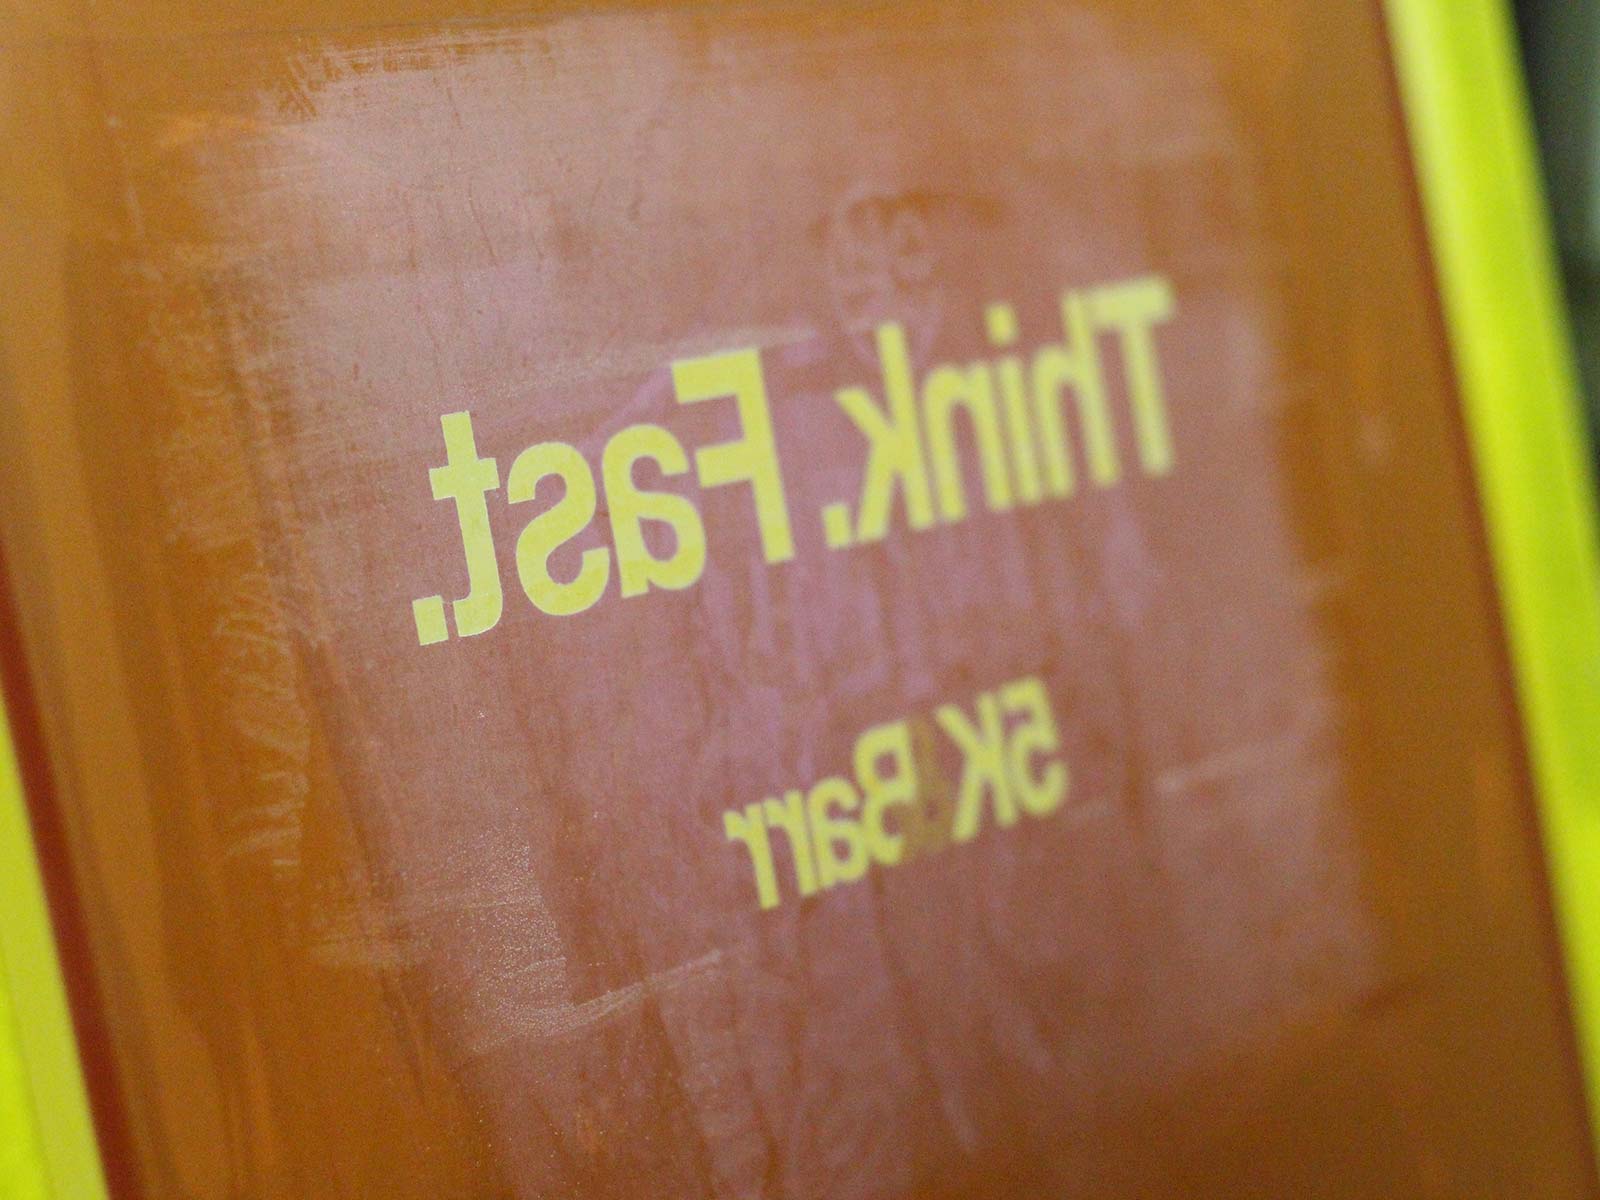
Most people get home, unwind, maybe even enjoy a glass of wine to ease the stress from work–but not at our house. My partner, Tim Styles, and I run a screen-print shop called Native Screen Print Company out of our garage. A typical day for us usually means we come home from work, make something quick for dinner, then get cranking on printing. We do a lot of work with local designers and companies such as &Barr. We work so well as a team, with his knowledge of screen printing and my experience as a graphic designer, we can easily take on any work that comes our way.
Some people may see screen printing as an easy process, which isn’t always the case.
Screen printing is a process that’s been around since the 18th century and still hasn’t been perfected. There are a lot of things that need to be taken into account when printing: what screen mesh is appropriate for the job you’re doing, where is the best place to burn the graphic on the screen, how many colors are in the job. All of these are things I’ll touch on in the sections that follow with a step-by-step process for how we treat each job.
Pre-pressing Files
Once the client has determined the graphic they want to screen print, it must be converted to vector, if it hasn’t already. This is done by using Adobe programs such as Illustrator to give it a crisp edge. This is what I usually help with. We also have some clients that request a design, whether it’s a logo or a hand-lettered graphic. If it’s a multiple color print, each color needs to be separated into its own individual film so it can print separately on the finished product.
Burning the Screen
Each color (film) will be burned onto a mesh screen after it’s coated with an emulsion and exposed under lights. The light burns away the image area from the emulsion and leaves only that portion exposed on the screen. This basically forms a stencil. That is the portion that gets screen-printed on the final product.
Printing
The screen is then secured on the press to be printed. The screen is flooded with the water-based ink, and pulled with a squeegee through the exposed portion of the screen. The ink seeps through the screen onto the piece being printed. We then run the product through a highly powered dryer, where it’s cured and dried. The process is repeated for each screen and each color in the design. Each screen and each color have to be precisely lined up with the previous image printed in order for the full design to come together and look seamless.
I hope this helped explain the screen-printing process a little better. As you can see, a lot goes into it, and depending how complex the job, some days seem longer than others but I wouldn’t have it any other way. My favorite is when Tim and I get to collaborate on ideas and think “Hey! That would make a great t-shirt!” With my design abilities and Tim’s printing expertise, we have the chance to make some pretty cool stuff. Everyone has to have a side hustle, right?


 Contact Us